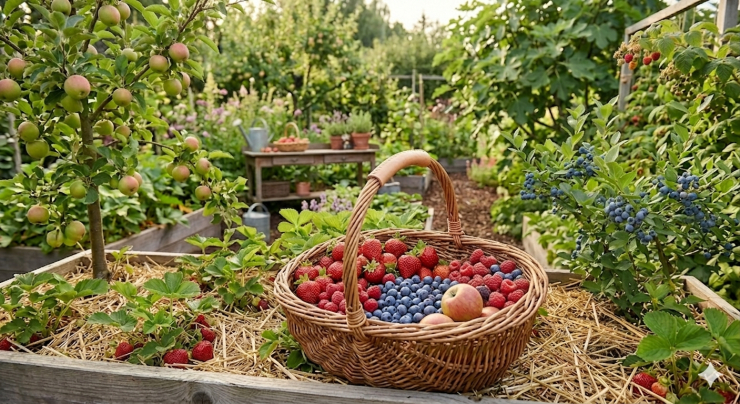
Composting is an essential practice for avid gardeners and eco-conscious individuals, as it reduces waste and yields nutrient-rich soil for plants. One of the most efficient methods of composting is using a tumbling composter, which provides a controlled environment for breaking down organic materials into usable compost.
Tumbling composters have been gaining popularity due to their ease of use, effective aeration, and odor control, making them a great choice for both beginners and experienced composters alike.
I’ve found that tumbling composters have numerous advantages over traditional compost piles or bins, such as faster decomposition, which occurs due to the consistent mixing and aeration of the materials.
For all these reasons, I want to touch upon the subject of tumbling composter and discuss it in greater detail.
Operating Your Composter
The first thing you should be aware of is how to operate a tumbling composter.
Adding Organic Materials
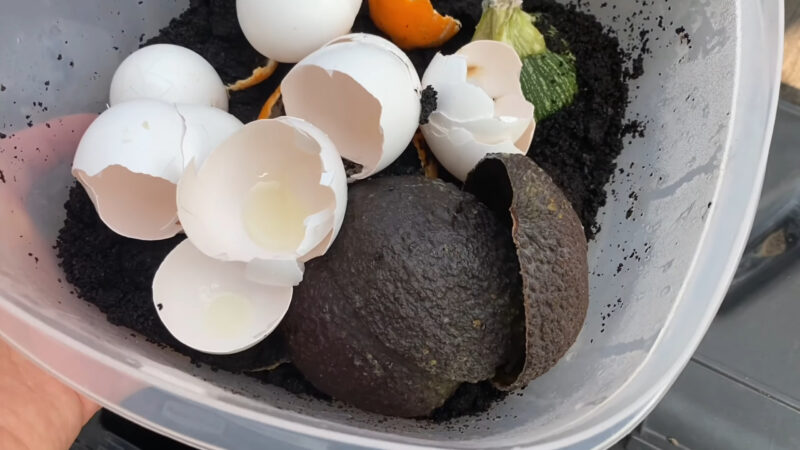
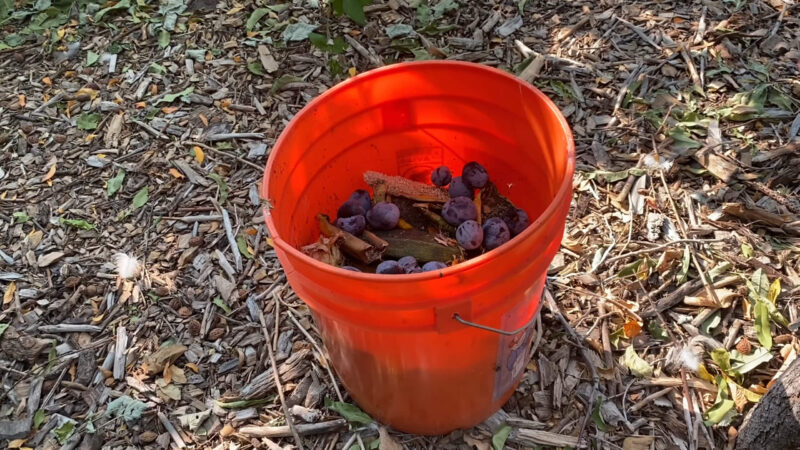
When using a tumbling composter, it’s essential to add the right types of organic materials. This includes kitchen scraps such as fruit and vegetable peels, coffee grounds, and eggshells. In addition to kitchen waste, you can also include yard waste like leaves, grass clippings, and small branches.
To speed up the composting process, it’s helpful to cut or shred these materials into smaller pieces before adding them to the composter.
Balancing Green and Brown Matter
A well-balanced compost needs both green and brown matter to provide the optimal level of nitrogen, carbon, oxygen, and moisture.
| Green matter | Grass clippings | Fruit and vegetable scraps | Coffee grounds |
|---|---|---|---|
| Brown matter | Leaves | Sawdust | Small branches |
A good rule of thumb is to use a 1:2 ratio of green to brown material. This ensures a balanced nitrogen-to-carbon-rich material that promotes proper decomposition.
Keep an eye on the moisture level and temperature inside the composter. The compost should be damp but not soaking wet. If it appears too dry, you can add some water to maintain a moist environment. The temperature should be warm, as the heat generated by the decomposition process helps break down the materials more quickly.
Typically, tumbling composter requires 3 months to make mature compost, but this can vary based on factors like temperature, the balance of materials, and how often you tumble.
Aerating the Compost
Proper aeration is crucial for successful composting, as it supplies the compost with much-needed oxygen. Tumbling composters are designed with built-in air pockets that help keep the material aerated as it breaks down in the bin. To ensure your compost stays well-aerated, give it a few rotations every 3-5 days.
This allows oxygen to reach all areas of the composter, promoting an efficient decomposition process. If you have a dual chamber composter, keep in mind to rotate both chambers uniformly.
By carefully adding the right organic materials, balancing green and brown matter, and regularly aerating your compost, you’re well on your way to creating rich, nutrient-dense compost to nurture your garden.
As you can see, this is another device, alongside compost toilet, where aerating is a possibility. Of course, this device comes with its own string of pros and cons.
Setting Up Your Tumbling Composter
When setting up my tumbling composter, I carefully consider the location. It is important to find a balance between sunlight and shade for the composter, as too much sunlight may overheat the contents and hinder the decomposition process, while too much shade may lead to dampness and slow down the process.
I usually aim for a spot that receives a mix of sunlight and shade throughout the day. Furthermore, keep in mind that you’ll need space to conveniently access and maneuver the tumbler. You must also consider aeration, ensuring it’s placed in an area where it can receive adequate airflow.
Assembly and Preparation
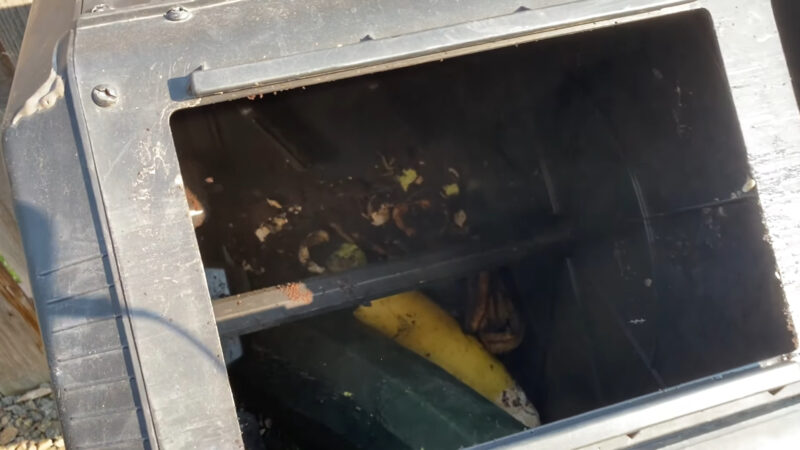
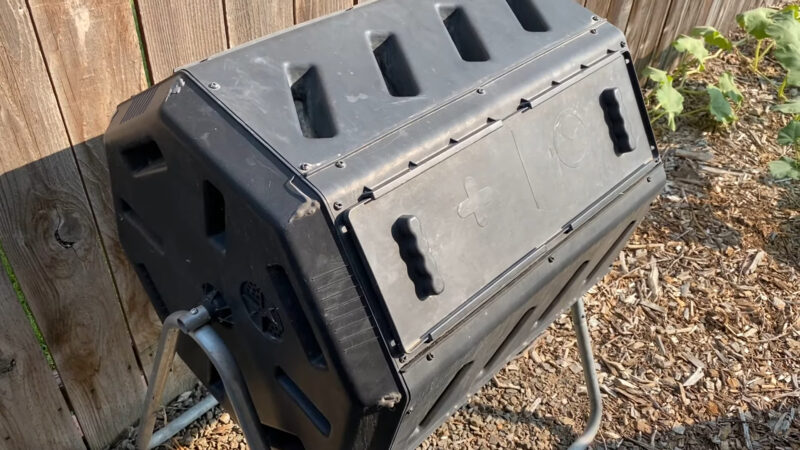
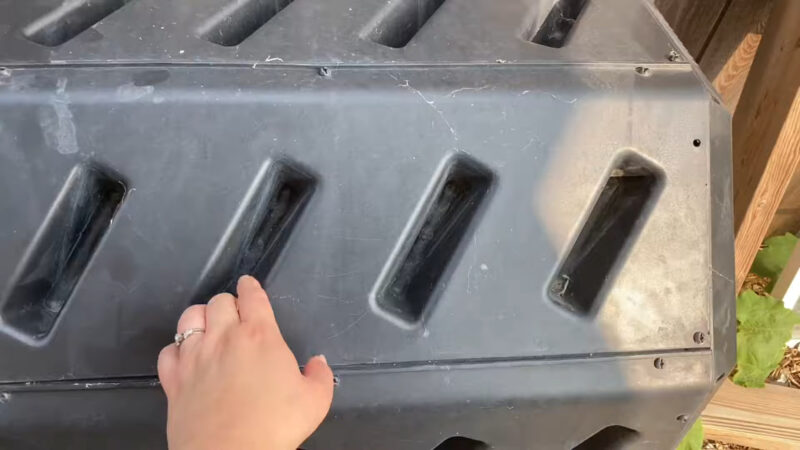
Assembling my tumbling composter typically involves following the manufacturer’s instructions that came with the model I purchased. Most models have a drum and a frame with which the drum is attached to for rotation.
The drum is usually made of durable, UV-resistant materials that aid in maintaining an optimal composting environment. After assembly, I ensure that the composter is placed on a level surface, as this will make it easier to rotate the drum and prevent it from tipping over.
I also prepare my compost materials before adding them to the tumbler or bin, by:
- Collecting organic materials: I gather a mix of green (nitrogen-rich) and brown (carbon-rich) materials, such as fruit and vegetable scraps, coffee grounds, leaves, and small branches.
- Sorting materials: I separate the materials into piles of green and brown waste to make it easier to layer them properly inside the tumbler.
- Cutting or shredding larger materials: I cut or shred larger pieces of organic waste, like branches and leaves, to speed up the decomposition process.
With my tumbling composter properly set up and prepared, I am well on my way to making nutrient-rich compost for my garden.
Maintaining the Composting Process
In order to maintain an effective composting process, it’s crucial to monitor the moisture and heat levels within the tumbling composter. The compost should have the consistency of a damp, wrung-out sponge – not too dry and not soaking wet.
To achieve this balance, I make sure to keep an eye on the moisture levels and add water if the mixture appears dry or more brown materials, such as leaves, if it feels too wet. Heat is another essential factor in the composting process.
I often use a compost thermometer to ensure that the internal temperature of the compost stays around 130-150°F (55-65°C). This heat range allows for optimal decomposition and kills off most weed seeds and pathogens.
On colder days, I might need to turn the composter more frequently to maintain the heat, while warmer climates might require less rotation.
Managing Odor and Pests
Odor and pests can be common concerns when it comes to compost heap. To manage any unpleasant smells, I make sure that there is adequate ventilation within the tumbling composter. Proper air circulation is key to preventing foul odors and accelerating the breakdown of organic materials.
Most tumbling composters have ventilation holes, but if needed, you could also create more holes or spaces for airflow. To keep pests at bay, it’s essential to avoid adding any animal products, such as meat or dairy, to the compost.
I stick to fruit and vegetable scraps, coffee grounds, and yard waste to minimize the possibility of attracting unwanted critters. Regularly turning the composter, ideally at least once or twice a week, helps to deter pests by creating a challenging environment for them to thrive.
By focusing on these key factors – moisture, heat, odor, and pests – I can effectively maintain the composting process and produce nutrient-rich compost with my tumbling composter.
Extracting and Utilizing Compost
Once my compost is ready, I follow these steps to harvest and utilize it:
- Prepare tools and equipment: Before extracting the compost, I gather my tools: a shovel, a wheelbarrow or container to collect the compost, and gloves for protection.
- Open the tumbler: I carefully open the tumbler and inspect the compost one last time, making sure it has the desired consistency and that there are no unpleasant smells.
- Extract the compost: Using a shovel, I scoop out the finished compost from the tumbler and collect it into the wheelbarrow or container.
- Store the compost: If I don’t need the compost immediately, I store it in a covered container, making sure it stays moist and protected from the elements.
- Utilize the compost: Once I’m ready to use the nutrient-rich compost, I have two main options:
- Fertilizer: I sprinkle the compost around my plants as a top dressing, allowing the nutrients to slowly release into the soil and nourish the plants.
- Mulch: I use the compost as a mulch layer to protect the soil, locking in moisture and suppressing weeds in my garden.
FAQ
Should I put worms in my tumbling composter?
No, worms are not necessary and may not survive due to the tumbling action and temperature variations.
How do I know when my compost tumbler is ready?
Your compost is ready when it’s dark, crumbly, and has an earthy smell. It shouldn’t have any recognizable food or yard waste.
Do I need to put dirt in my compost tumbler?
No, adding dirt isn’t necessary. Just balance green (nitrogen-rich) and brown (carbon-rich) materials.
Can you put egg shells in compost?
Yes, you can put eggshells in compost. Eggshells are a great addition to your compost pile because they provide valuable calcium and can help balance the pH levels. Just make sure to crush them into small pieces to speed up decomposition and mix them well with other compost materials.
Summary
Using a tumbling composter is an efficient and hassle-free method to turn your organic waste into nutrient-rich compost.
It offers many benefits compared to traditional composting methods, such as reduced labor, time-efficiency, and easier management of composting process.
Remember that composting is not only beneficial to your garden, but it also contributes to a healthier environment by reducing landfill waste and greenhouse gas emissions.